
Setting up SplunkWeb with Third Party Certificates End-to-End on a Built Environment (Part 2)
Author: Laurence Everitt
Release Date: 29/05/2024

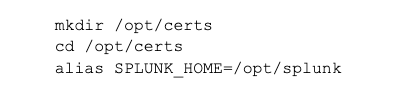
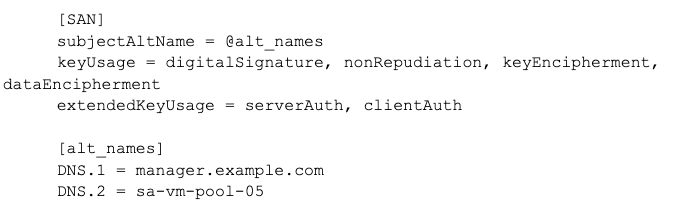
Next, we need to set up the Subject Alternate Name (SAN) configuration which allows us to specify how to include both the DNS address of the server and the machine name. Generally, the reason for doing this is so you can refer to the server by the server name if needed. Also, in the case of a Search Head Cluster (where you may need a Network Load Balancer and therefore a separate URI for that, as opposed to the cluster members). This is done by copying the default Splunk configuration of openssl and then adding the SAN configuration to this:

Edit the openssl.cnf and add the following lines:
Next, we use the following command to run openssl to create the private key and the Certificate Signing Request file:

NOTES on this command:

NOTES on this command:
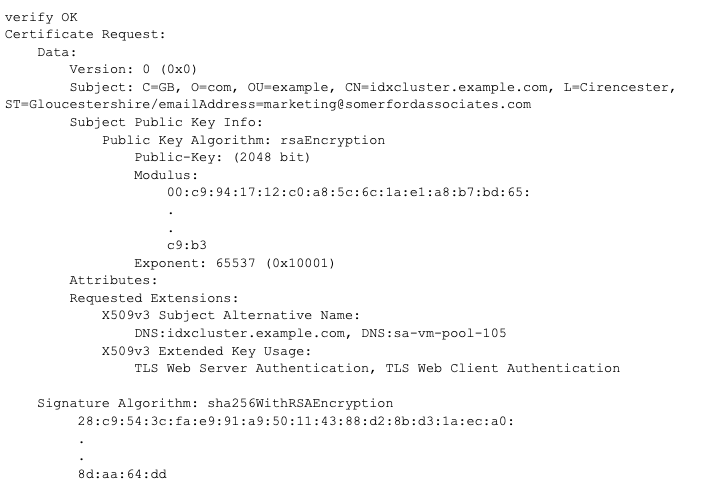
Once you have generated your CSRs, submit them to the CA.

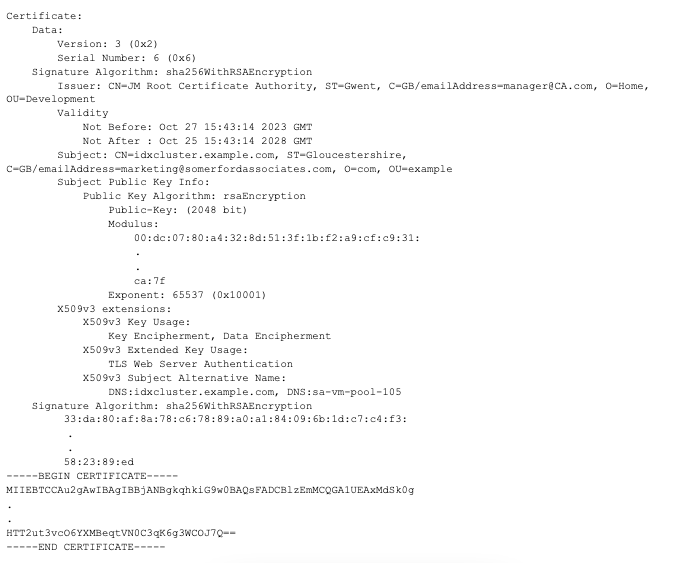
If you get the following output, then the certificate is in the x509 format, but then you need to check that the certificate is still as requested. Incorrect certificate content can be because of mistakes or policy, but the following content is required. I have coloured the vital items in red to verify:
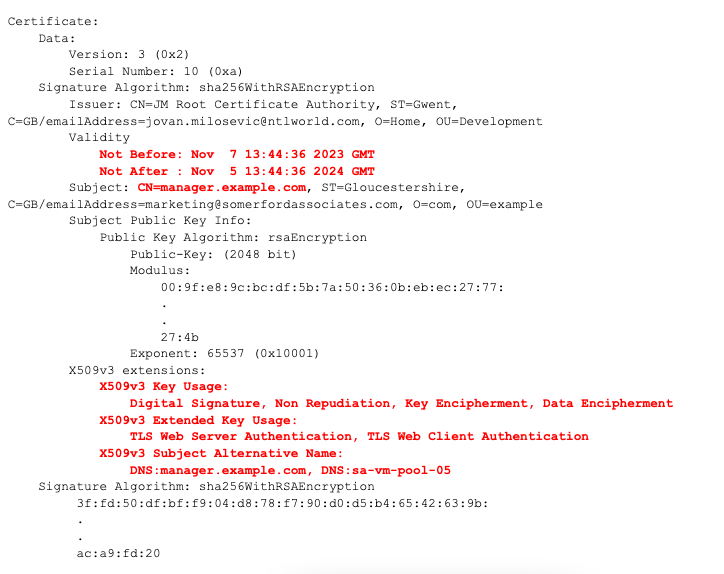
NOTE: Certain browsers now do not allow long-term certificates - for example, Safari rejected a certificate with an expiry greater than 365 days in the future, and Google has announced that Chrome will be reducing the maximum certificate expiry period in the future, so keep this in mind.

NOTES for this command are:

The OpenSSL command for extracting the certificate(s) is:

The OpenSSL command for decrypting (providing the password) the private key is:

In my case, the bundle I received from the CA included the following (showing only one server’s certificate set):
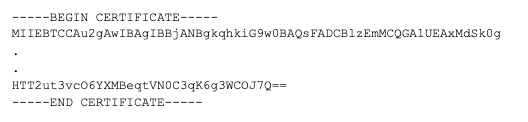
To fix this, I edited the file to remove the unencrypted part of the certificate, so that it then looked like the following (with the BEGIN CERTIFICATE and END CERTIFICATE lines and the full contents of the encrypted data), similar to this:
From this, I ran openssl to convert the CER files into .pem files using the following command:

So I ended up with these files in the right formats, BUT in separate files, which is good, as we can create the files in the right formats:
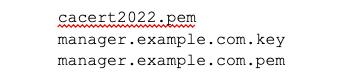
So I ended up with these files in the right formats, BUT in separate files, which is good, as we can create the files in the right formats:

NOTE: I named the .pem file after the server so that I can differentiate the file from other servers. When I come to apply this file to the server, I will rename it server.pem, so that I can configure each server the same way without changing the configuration in the Splunk app file.

NOTE: This certificate bundle is now very valuable and should be treated as such - do not move these keys anywhere other than where they need to go (i.e. the source and final destination, as if the key can be captured by a third party, that person could then impersonate the server with that key. In most cases, I DICTATE that key files are not moved from one machine to another, but that would mean having to generate the keys on the server that it will be deployed on and mean that the process would need to be run on each machine and in large environments, that can be cumbersome. However, in most environments, the keys can be moved around securely (using SCP in *NIX and encrypted ZIP on Windows), as most transfer methods are secure and they are moved within the same domain, but keep in mind the power of the keys and keep them safe.

Securing SplunkWeb with the new Certificate Set

Create the web.conf file in this folder (or edit if already present) and add/edit the following lines:
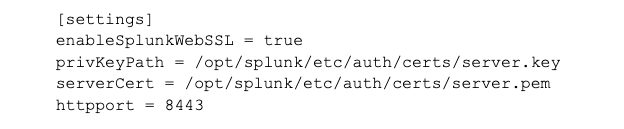
NOTE: Once you have created the web.conf, make sure that this file is owned by the Spunk user with permissions to allow the user to at least read the file.
GOTCHA: SplunkWeb does not support passworded keys, which is why we strip the password from the key in this article.

If the startup sequence hangs when it is checking for the existence of the SplunkWeb process, there is a problem with the configuration, so you should go back and check that all of the configuration is correct. As we have put everything into the etc/system/local and the etc/auth/certs folders within Splunk, this limits your search.
NOTE: If Splunk starts, but SplunkWeb does not start up (i.e. the startup sequence hangs), then this will indicate there is a problem with the certificate or certificate chain. This can range from issues such as: